Kitesurfing in the UK: A Complete Beginner's Guide to Your First Season
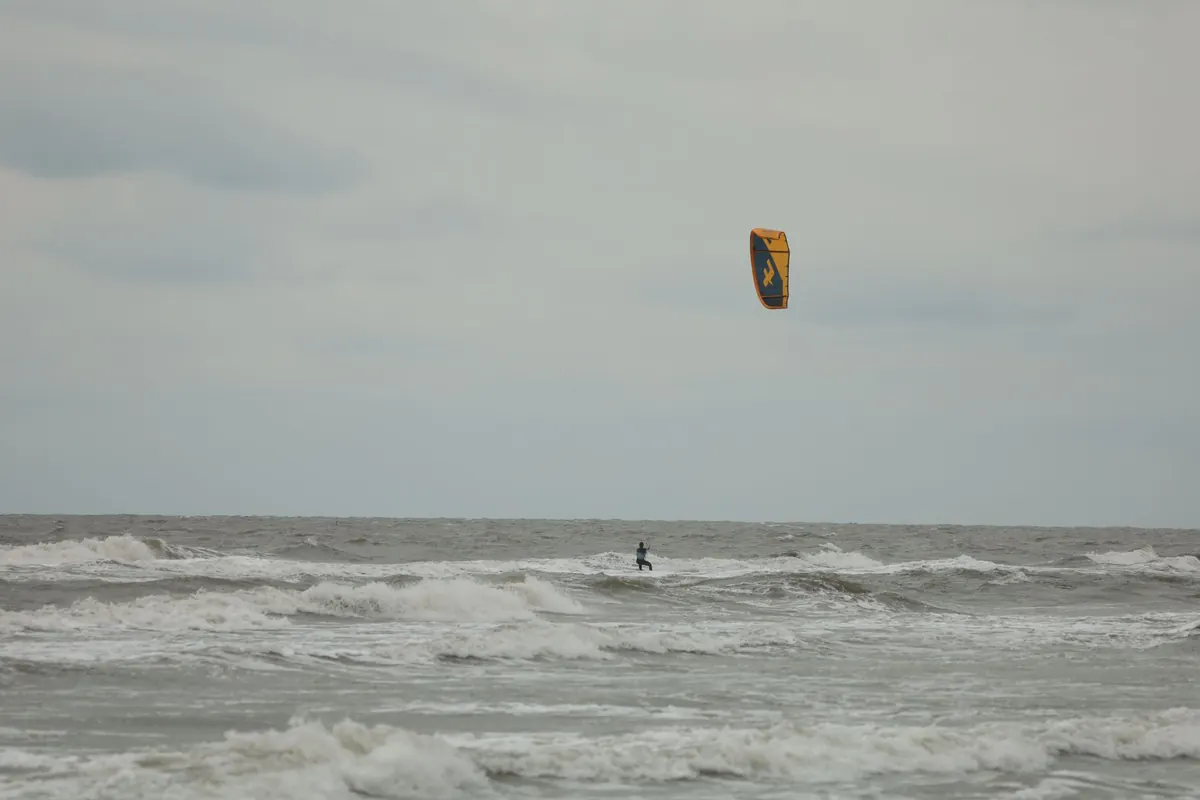
From the beach, kitesurfing looks like a magic trick. Someone wades into the shallows, the kite drifts up, and a minute later they are carving away from shore. What you do not see is the unglamorous part: body dragging through chop, swallowing seawater, and standing in a wet wetsuit in a car park trying to work out which way the wind is actually coming from. Your first season is largely about that unglamorous part — and about getting enough good sessions in that the rest starts to feel natural.
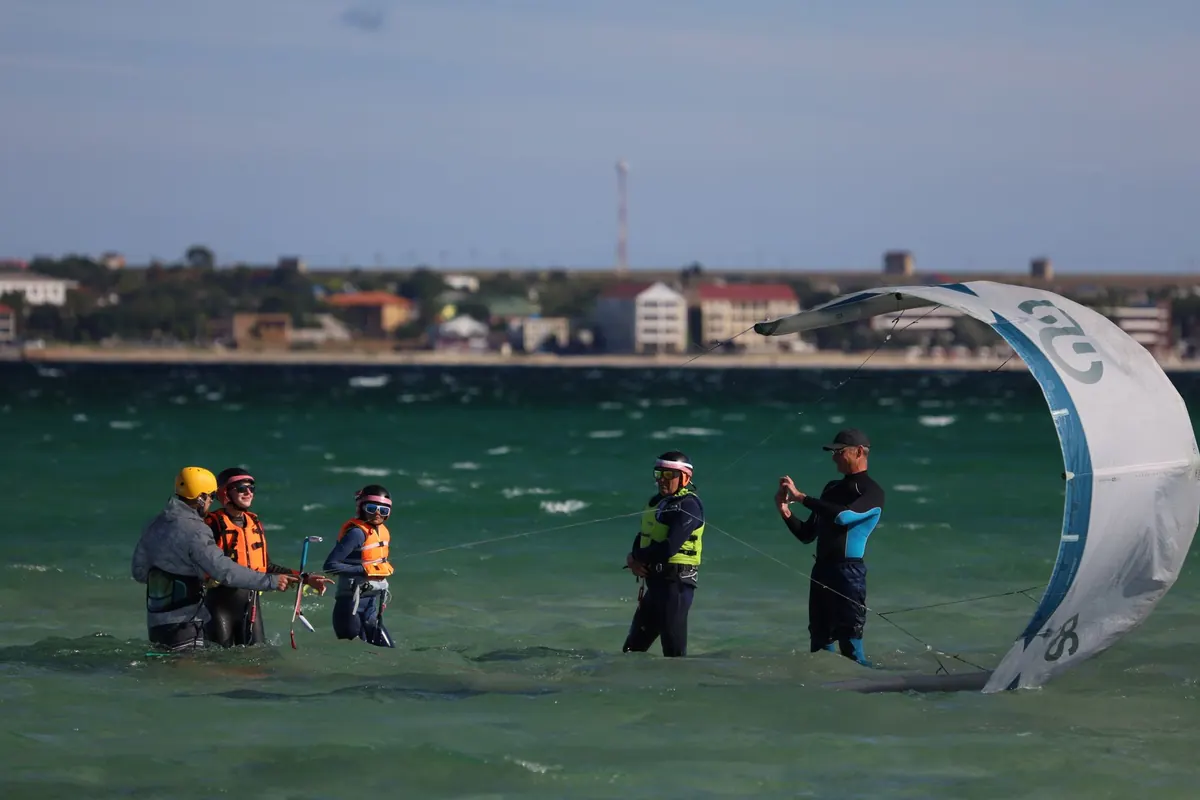
Book a course before you buy anything. A recognised school — look for BKSA or IKO affiliation — will teach you site assessment, weather reading, kite setup, the safety systems, assisted launch and landing, body dragging, self-rescue and your first board starts. Two or three days spread across a few weeks works better than one crammed weekend, because you will remember more and your body will have time to catch up.
Ask how big the groups are. Two to four students per instructor is a good ratio; anything much larger and you will spend your session watching rather than flying. Most UK schools and many popular spots also expect third-party liability insurance, so sort that out before your first session rather than on the day.
Resist the urge to buy kit in week one. School equipment is the right size for learning and you will be kind to it in ways you would not be to your own.
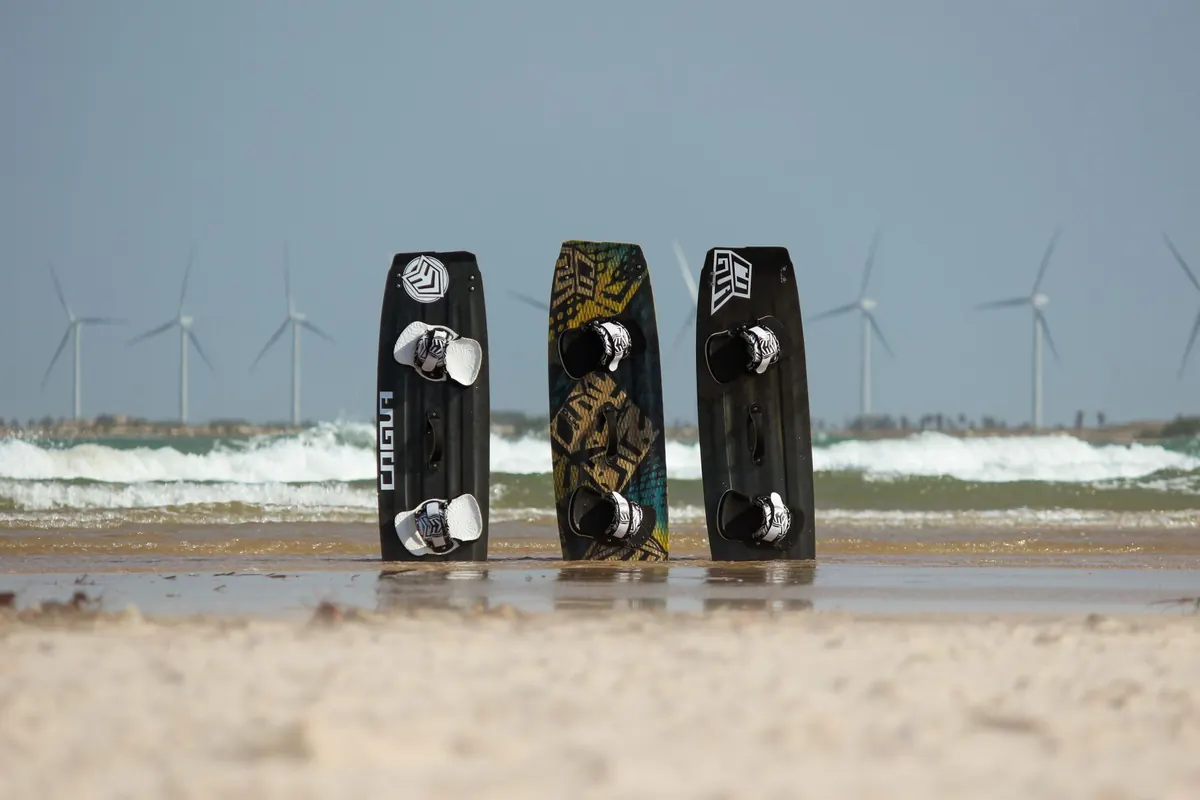
When you do buy, buy used but buy carefully. A reputable shop or a well-known local rider will steer you towards gear that suits your weight and your home spot. A rough starting point for most UK beginners:
British wind is rarely clean and rarely kind. Learning to read a forecast properly will save you more wasted journeys than any piece of equipment.
Aim for a steady 15–25 knots as a learner. Look at the gap between the average and the gust figure: if gusts are close to double the average, expect a spiky, difficult day and consider a smaller kite or a different plan. Cross-shore and cross-onshore winds are the friendliest; offshore wind is dangerous and should be avoided entirely as a beginner.
Many UK spots work best in a window either side of high or low water, and some turn into a different place altogether at mid-tide. Ask locally about the ideal state, and check whether your spot is a shallow lagoon, an estuary or an exposed beach. Flat water over sandbanks is far easier to learn on than chop and shorebreak.
Cold water drains energy quickly and reduces how well your hands work. Dress warmer than you think you need, and get out before you are shivering. If you are unsure about anything health-related — a shoulder injury, cold-water shock, an existing condition — speak to a doctor before you commit to the season.
Start somewhere shallow, sheltered and forgiving. Estuaries, bays and lagoons with a sandy bottom are ideal. Avoid busy beaches, and never launch, land or fly a kite near swimmers, paddlers or people walking dogs. Local riders will tell you where to rig, where not to, and what hazards to watch for: groynes, mooring lines, rocks, weever fish in the summer shallows.
Some spots are governed by harbour rules or local byelaws, and a few require permits. A two-minute conversation with a local club or shop saves a lot of awkwardness later.
Never ride alone, and tell someone where you are going and when you expect to be back. Check the forecast twice, look at the sea before you rig, and know exactly how you would self-rescue if the wind dropped or a line snapped. If the kite starts behaving unpredictably, let it go — equipment is replaceable.
Progress comes from frequency, not heroics. Two short sessions a week beat one exhausting epic every fortnight. Keep a simple log of wind, kite size and what you worked on; patterns appear quickly, and you will stop making the same mistake three sessions running. Rest days matter too, particularly in winter when cold water takes more out of you than you notice at the time.
Book your course now, even if the weather looks poor — schools reschedule. While you wait, start checking a wind forecast for your nearest spot every day and get into the habit of reading it. Join a local Facebook group or club, introduce yourself, and ask what the spot is like at different tides. Then buy your kit with that knowledge in hand, second-hand where sensible, and spend your first season riding small, close to shore, and often. The riders you see gliding past on a Tuesday evening started exactly where you are.
Photo: Serg Alesenko / Pexels