Tides and Kitesurfing: How to Plan a Safe Session Around High and Low Water
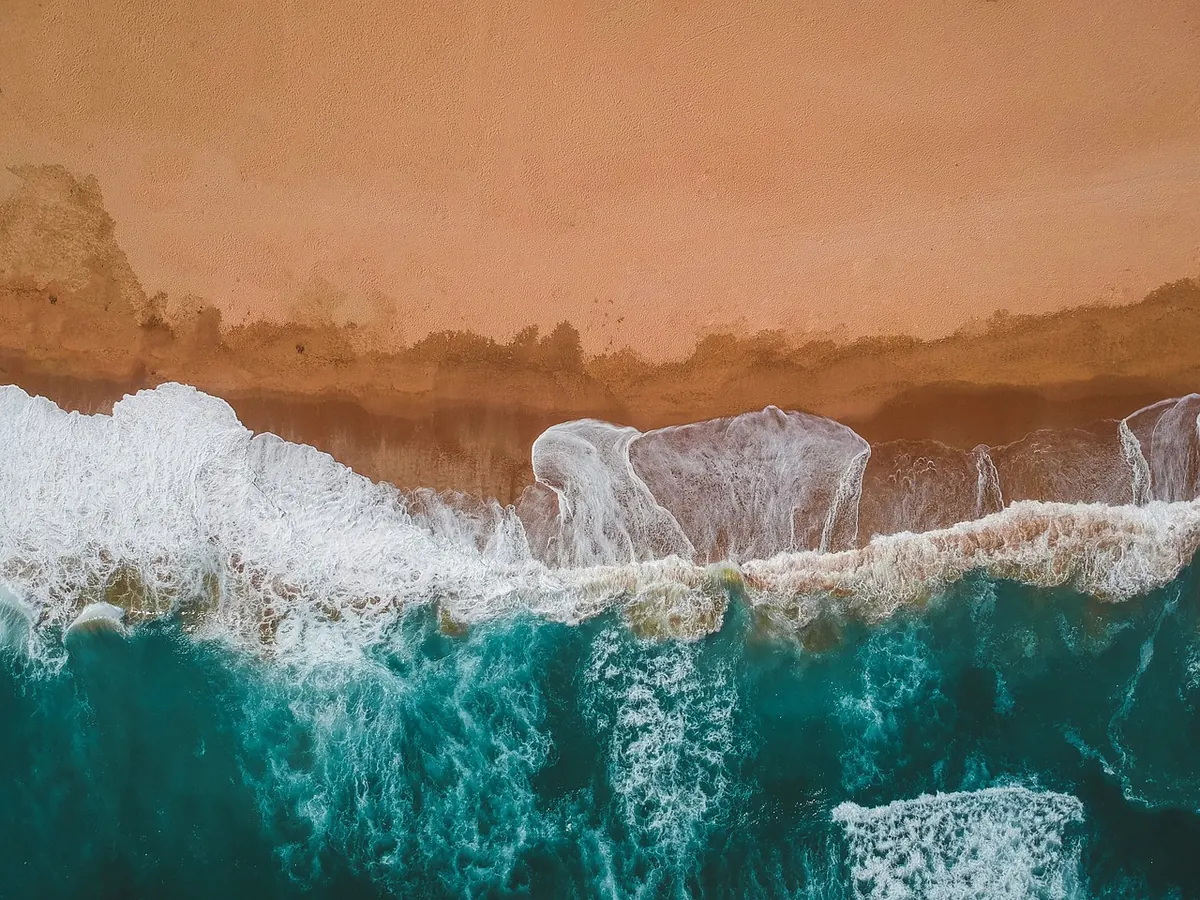
You checked the wind. You checked the gusts, the direction, the rain radar. You packed the car, drove an hour, and arrived to find the beach you kitesurfed last Tuesday has vanished under a wall of shingle and white water. Or worse, the sand is still there but the water has gone, leaving a kilometre of mudflat between you and anything rideable. Welcome to tides: the part of session planning that catches more kiters out than a bad forecast ever will.
The tide decides how much water sits over a sandbank, how much room you have to lay out lines, which way the current pushes when your kite goes down, and whether the rock you cleared yesterday is now at fin height. Get it right and you get a better session. Get it wrong and you get a long walk, a snapped fin, or a genuine swim.
Wind is only half the story. Two beaches half a mile apart can behave completely differently at the same state of tide, because one faces a shallow shelf and the other sits next to a deep channel. Add a spring tide and the same spot can go from flat and forgiving to fast, choppy and awkward in a few hours.
The four things you are really checking are depth, space, current and exposure. Depth tells you whether it is worth rigging at all. Space tells you whether you can launch, land and self-rescue safely. Current tells you where you will end up if things go wrong. Exposure tells you what is hiding under the surface.
A tide table gives you times and heights for high and low water at a named port. Those heights are measured from chart datum, which is roughly the lowest tide you would expect, so a predicted low of 0.3 m is not "almost no water" — it means the water is very close to the lowest it gets. A high of 4.6 m at the same spot means a serious amount of water has arrived.
Around new and full moons you get spring tides: bigger range, faster streams, more water at high and less at low. Between them, neap tides are gentler, with a smaller range. If you are learning, or riding a new spot, a neap tide with a moderate wind is usually a much friendlier introduction than a big spring range.
The tide does not rise or fall evenly. Over roughly six hours it moves about one twelfth of its range in the first hour, two in the second, three in the third, three in the fourth, two in the fifth and one in the sixth. So the fastest change is around mid-tide. That is worth knowing if you are working out whether the water will still be deep enough over a bank an hour after you launch.
One more thing: many beaches sit near a "secondary port" and need small time and height corrections. A local tide board, harbour authority notice or a decent tide app for your specific beach will always beat a guess based on the nearest big port.
Tidal streams push you along the coast, and they are strongest where water is squeezed — estuary mouths, harbour entrances, gaps between sandbanks, around piers and headlands. In many places the stream turns around high and low water, but the timing varies, so ask locally rather than assuming.
The combination that ruins sessions is wind against tide. When a fresh wind blows one way and the tide runs the other, you get steep, close-packed chop and a hard slog upwind. Wind with tide feels flatter and easier, but it carries you downwind faster, so plan your return before you get on the water, not after.
Low water often means a wide, empty beach. It also means mud, weed, hidden rocks, glassy shallows and a very long walk with your kit. High water can mean a narrow strip of shingle, a seawall behind you, submerged groynes and no space for lines. Neither is automatically better — but both need a look before you pump up.
Tide turns familiar water into unfamiliar water. At low tide you might see old posts, mooring blocks, wrecks, pipes, rock ledges and shellfish beds that are invisible at mid and high water. At high tide, boats swing over areas you could walk across an hour earlier, and channels that were dry are suddenly busy with traffic.
Mudflats deserve particular respect. They look harmless from the water and can be genuinely difficult to cross on foot, especially alone and carrying kit. Keep clear unless you know the area well. If in any doubt about a spot, speak to the local kite school, sailing club or harbour office — they know the quirks far better than any app.
Flat-water lagoons and harbours usually need enough depth, so mid to high water often works best — though too much water can bring swell and chop into places that were glassy an hour before. Wave spots frequently work better on a pushing tide over a sandbank, where the water has depth to build a clean face without closing out.
If the tide is running hard and the wind is strong, consider a different spot, a different hour, or a smaller kite and a more conservative plan. If wind against tide is forecast, an hour either side of slack water is often the sweet spot.
The tide can also help you. Riding an estuary up on the flood and back on the ebb is a great way to cover ground — but only with a buddy, a reliable forecast, a working phone in a waterproof pouch and a clear turnaround time.
None of this takes long once you are used to it, and it turns a session from a gamble into a decision. If the tide does not suit your plan, change the plan — move the session, move the spot, or come back tomorrow. The water will still be there.
Photo: Mduman1997 / Pixabay
Previous Post
First Kiteboard Buyers Guide: Twin Tip vs Surfboard for UK Conditions
Next Post
UK Kitesurfing Season: Month-by-Month Wind and Water Temperature Guide